How to use Raspberry Pi in headless mode
Connecting Raspberry Pi to an HDMI based display may come with a few restrictions like availability of a working monitor or TV screen and henceforth, portability. Here is how you can connect Pi to a laptop in just a few steps!
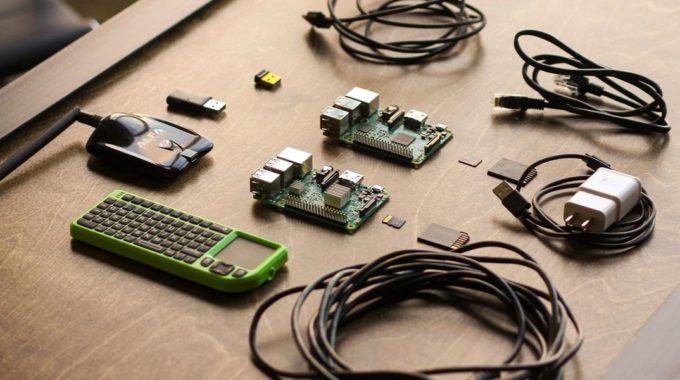
What you need:
- SD card
- SD card reader
- Ethernet straight cable
- Advanced IP Scanner (download link: https://advanced-ip-scanner.en.softonic.com/download
- MobaXterm (download link: https://mobaxterm.mobatek.net/download-home-edition.html
Steps:
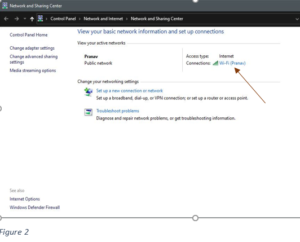
- Before you power up your Raspberry Pi, Open Network and Sharing center on Control panel.
- Click on the network connection that is being used on your laptop as shown by arrow in the figure 1, which throws a pop-up window.
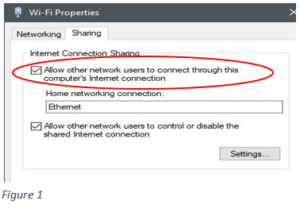
- Click on properties in the pop-up window and go to Sharing.
- Select the option in figure 2 and click ok. Unless this is done, your Raspberry Pi won’t be detected by your network.
- Next, power up the Pi and plug in the Ethernet cable to the pi and the laptop.
- An unidentified network appears in the network and sharing window.
- Again click on the new network and go to properties.
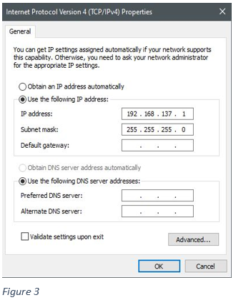
- In networking tab, double click on ‘Internet Protocol Version 4’ where you can see the IP address allotted to the new network.( figure 3)
- To know the IP allotted to the Pi, we use the Advanced IP Scanner
- Open this software and enter the IP address in the range (figure 4)
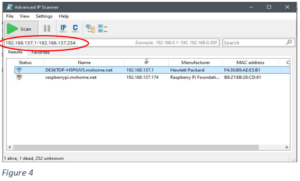
- Press Scan in the window. The name and IP address of Raspberry Pi appears if it is detected.
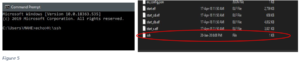
- Now, to enable the secure shell (SSH), remove the SD card from your Pi and connect it to the laptop through a card reader.
- The card memory will appear in the laptop. Note the drive letter of the card reader(eg: ‘H:’)
- Now, inside boot directory, create a file named ‘ssh’. For this, open command prompt and enter echo>H:\ssh. You will see the file in boot directory now without an extension. When Pi boots, it looks for the ssh file. If it finds it, it enables ssh and then deletes the file. (figure 5)
- Put back the SD card into the Pi and power it up.
- Now we need a GUI to operate the Pi, so we use an X forwarding application called MobaXterm, where X-forwarding means that you’ll be able to execute GUI commands on the remote machine, and the GUI will be shown on your local screen. Since, Mobaxterm has an inbuilt ssh client, you need not use PuTTY.
- Open Mobaxterm and click on session, and then SSH. Under remote host, you can enter the IP name or address of raspberry Pi (figure 6) and then click OK.

- Now it asks for login. By default, Raspberry Pi has login username: pi and password: raspberry.
- After logging in, enter the command startlxde in the same window.
- A warning shows up that ssh is enabled and the Raspberry screen.
- You might notice a change in the background image as well as in the icons on the screen due to X forwarding. The taskbar also appears at the bottom of the screen.
- Right click on panel settings on the left side of taskbar and click Top under Geometry tab. This brings the taskbar to the top..
- To connect to the internet, Right click on the taskbar and select Add or remove panel items which opens a list of ‘panel applets’. Click Add and select Wireless and wired networks. Click add. Similarly, Add Separator and Network Status Monitor.
- The network icon appears on the right corner of taskbar. Click on it to turn on WiFi. Right click and select your network.
- You have your Raspberry Pi working in headless mode.